Fitting shower panels is one of the simplest ways to upgrade a bathroom without the disruption and ongoing upkeep associated with traditional tiling. With no grout lines to manage and fewer stages involved, installation is faster and easier to control from start to finish.
Our guide walks you through the full shower panel installation process, from preparation and measuring through to alignment, sealing, and final checks, so you know exactly what’s involved before you start.
Quick Navigation:
How to Fit Shower Panels : Video Guide
What You’ll Need
Having the right tools to hand before you begin helps keep the fitting process smooth and avoids unnecessary interruptions once panels are cut and adhesive is applied. Most items are standard DIY tools, with a few panel-specific materials needed for sealing and fixing. If you’ve got a shower panel kit, you should have everything needed to get started.
- Shower panels
- Spirit level
- Utility knife or fine-tooth saw (a utility knife is suitable for straight cuts and trimming, while a fine-tooth saw is better for longer cuts or thicker panels.)
- Waterproof panel adhesive
- Caulking gun
- Silicone sealant
- Clean cloths
Recommended Extras
- Safety glasses
- Gloves
- Screws and wall anchors (only required for uneven or problematic walls)
Preparing the Shower Wall
Walls should be solid, flat, and completely dry. Any fixtures such as shower heads, rails, shelves, or brackets should be removed, along with loose paint or adhesive residue. Dust, grease, and soap residue can prevent adhesive from bonding properly, so surfaces should be cleaned thoroughly and allowed to dry before installing shower panels.
Minor surface imperfections can usually be sanded back, but larger issues such as hollow patches, flaking plaster, or crumbling surfaces need to be addressed before panels are installed. Shower panels rely on full contact with the wall, and areas that cannot bond properly often lead to panels shifting during curing, joins opening up, or sealant failing once the shower is in regular use.
Walls should also be checked with a straight edge or spirit level. Bathrooms are rarely perfectly square, so identifying uneven areas early helps with planning panel layout and positioning. Where walls are badly uneven or damaged, reboarding with plasterboard or tile backer board provides a stable, flat base for installation and avoids alignment problems developing after the panels are fitted.
Can Shower Panels Be Fitted Over Tiles?
Yes, shower panels can be installed over existing tiles where the tiled surface is stable and well bonded. Tiles should sit flat against the wall, with no movement when pressure is applied. Hairline grout lines or surface texture are not an issue, but the tiles themselves must be secure across the full area being covered.
Tiles that are loose, cracked, hollow-sounding, or missing should be removed rather than covered. Any movement behind the panel prevents consistent adhesive contact and can cause the panel to lift or joints to open once the shower is in use. Where tiles are removed, the wall should be reboarded to provide a continuous surface before panels are fitted.
Glazed tiles reduce surface grip, so adhesive should be applied in continuous, evenly spaced vertical runs across the panel to maintain contact once it is pressed into place. Panels should be supported and aligned carefully while the adhesive cures, as bonding over tiles leaves less margin for correction than fixing to a bare wall.
Shower Panel Installation Process (Step-by-Step)
Installing shower panels is an easy process, but results depend on doing each stage in the right order. The steps below break the installation down clearly, from measuring and cutting through to alignment, sealing, and curing.
1. Measuring the Shower Area
Start by measuring the full height of the wall, from the top of the shower tray or bath edge up to the ceiling (or the height the panels will finish). Take this measurement at both ends of the wall and use the shortest measurement.
Next, measure the width of the wall where panels will be fitted. Again, measure at the top and bottom, as walls are often slightly out of square. Be sure to write all measurements down before cutting. Panels should always be cut to suit the wall, not forced to fit once adhesive has been applied.
Before moving on, decide where the first panel will start and where the final cut panel will sit. Positioning full panels on the most visible wall helps keep any trimmed edges out of sight.
2. Cutting the Panels
Panels should be cut before any adhesive is applied, using the measurements taken in the previous step.
Mark cut lines clearly on the back of the panel using a straight edge. For straight cuts, a utility knife can be used to score and snap the panel. A fine-tooth saw is better suited to longer cuts or thicker boards. Cutting from the rear also helps keep the visible face clean.
Once cut, dry-fit each panel against the wall to confirm the size. Any trimming should be completed before moving on, as panels cannot be adjusted once adhesive has been applied.
3. Adhesive Application & Panel Alignment
Adhesive should be applied to the back of the panel, not the wall. Use a high-strength panel adhesive suitable for bathroom environments, applied in continuous vertical runs from top to bottom of the panel.
Start with the first panel at one edge of the wall. Position it carefully, check it is straight and then press it firmly against the wall. The position of this first panel sets the line for all panels that follow, so make sure you check the alignment before the adhesive begins to cure.
Fit panels one at a time, applying adhesive to the back of each panel before positioning it. Each additional panel is joined using the tongue and groove edge. Slide the tongue into the groove and bring the panel across until the joint closes fully from top to bottom. Panels should meet cleanly without forcing them together, as excessive pressure can affect alignment or cause adhesive to squeeze out behind the board.
Check alignment as you go and make any adjustments immediately, while the adhesive is still workable. We recommend working across the wall in sequence, as it helps keep joints straight and spacing consistent throughout installation.
4. Securing Panels (When Required)
In most installations, adhesive alone is sufficient to secure shower panels to a properly prepared wall. Panels should sit firmly once pressed into place and remain stable while the adhesive cures.
Additional mechanical fixing is only required where walls are uneven, problematic, or where extra support is needed during curing. In these cases, screws and wall plugs can be used sparingly at the panel edges or along trim lines, where fixings will be covered once finishing trims are fitted.
If fixings are used, panels should still be aligned first and held flat against the wall before securing. Screws should never be overtightened, as this can distort the panel face or affect the tongue and groove joint.
5. Applying Sealant
Sealing is only required at external edges and transition points, not along the tongue and groove joints. The tongue and groove connection forms a watertight join between panels, so applying sealant between boards is unnecessary and can cause excess build-up.
Apply a continuous bead of silicone sealant along the bottom edge where panels meet the shower tray or bath, and along vertical edges where panels meet corner trims or wall trims. A neat bead should also be applied along the top edge if panels finish below the ceiling.
Smooth the sealant immediately to ensure full contact and a clean finish. Over-applying silicone should be avoided, as excess sealant can attract dirt and is difficult to remove once cured.
6. Cleaning Up and Curing
Remove any excess adhesive or sealant while it is still wet using a clean cloth. Leaving residue to cure on the panel face can be difficult to remove without marking the surface.
Once panels are fitted and sealed, allow the adhesive and silicone to cure fully before using the shower. Curing times vary by product, but panels should generally be left undisturbed for 24 to 48 hours to ensure the bond has set properly.
We recommend avoiding water or steam during this period, as early use can weaken the bond and compromise seals at edges and joints.
Troubleshooting Common Shower Panel Problems
Even with careful preparation and installation, small adjustments may sometimes be needed during fitting. Knowing what to look for, and how to correct it early, helps keep the installation clean and avoids unnecessary rework later on.
Panels Not Lining Up Correctly
This usually happens when the first panel is not set straight or when alignment checks are skipped between panels. If the adhesive is still workable, gently ease the panel back into position and recheck with a spirit level. If curing has already started, it’s often better to correct the issue at the next joint rather than forcing panels into line.
Gaps Appearing at Joints
Gaps between panels are typically caused by panels not being fully closed along the tongue and groove edge. Panels should slide together cleanly without force. If a gap appears during fitting, check for adhesive build-up behind the joint and remove any excess before repositioning.
Panels Shifting While Curing
Movement during curing is often linked to uneven walls or insufficient initial support. Panels should be pressed firmly into place and checked immediately after fitting. Where walls are slightly problematic, temporary support or light mechanical fixing can help keep panels stable until the adhesive sets.
Excess Adhesive or Sealant on the Panel Face
Adhesive or silicone squeezing out usually means it has been applied too close to the panel edges. Any excess should be wiped away while still wet using a clean cloth. Once cured, removal becomes difficult and can mark the surface.
Sealant Not Adhering Properly
Sealant issues are often caused by damp surfaces or residue left behind from cleaning products. Edges should be dry and free from dust before sealing. If sealant lifts or fails, remove it completely, clean the area, and reapply a fresh bead.
Uneven Finish Along Edges or Trims
This is often down to rushing the sealing stage. Applying sealant slowly and smoothing it immediately helps achieve a consistent finish. We find that taking a few extra minutes here makes a noticeable difference to the final appearance.
Completing Your Shower Panel Installation
Before using the shower for the first time, take a few minutes to check everything has set as expected. Gently press each panel to confirm it feels secure and free from movement.
Inspect all sealed edges where panels meet the shower tray, corners, and trims. The silicone bead should be continuous with no gaps. If anything looks incomplete, reseal it now while the area is still unused.
With panels secure and seals in place, the installation is finished. Ongoing care is simple, occasional cleaning with a soft cloth and mild cleaner helps maintain the finish and keeps seals in good condition. With no grout to manage, maintenance stays minimal over time.
Shop Easy to Fit Shower Panels
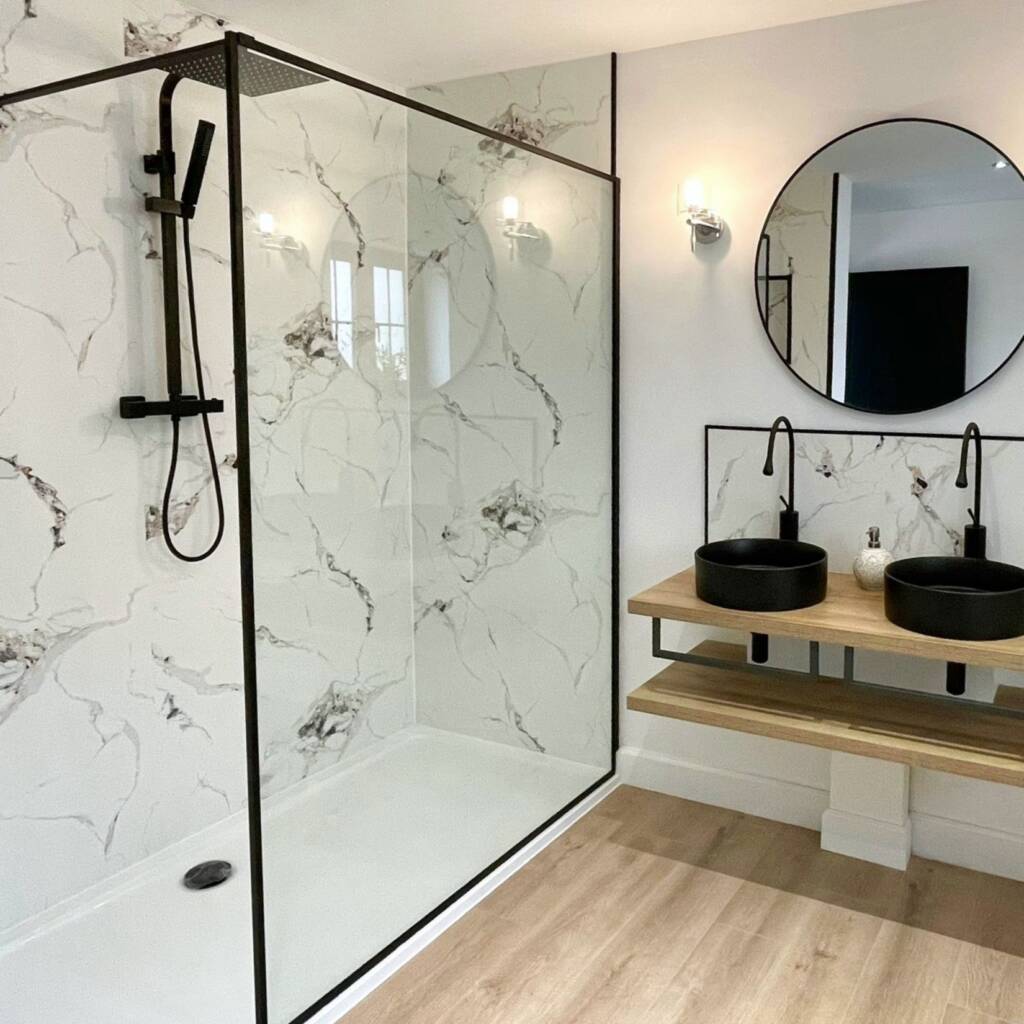
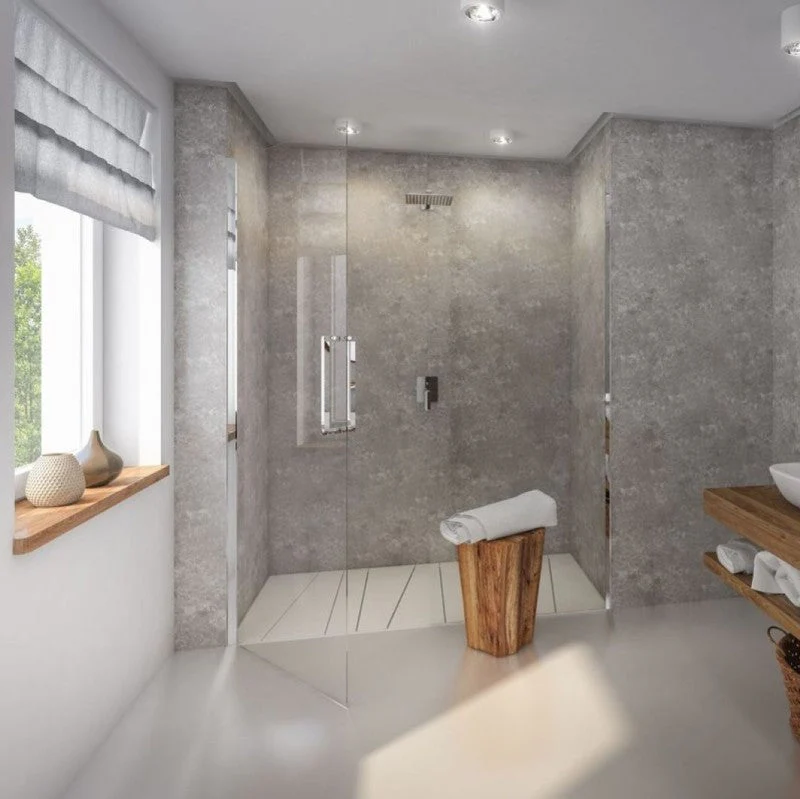
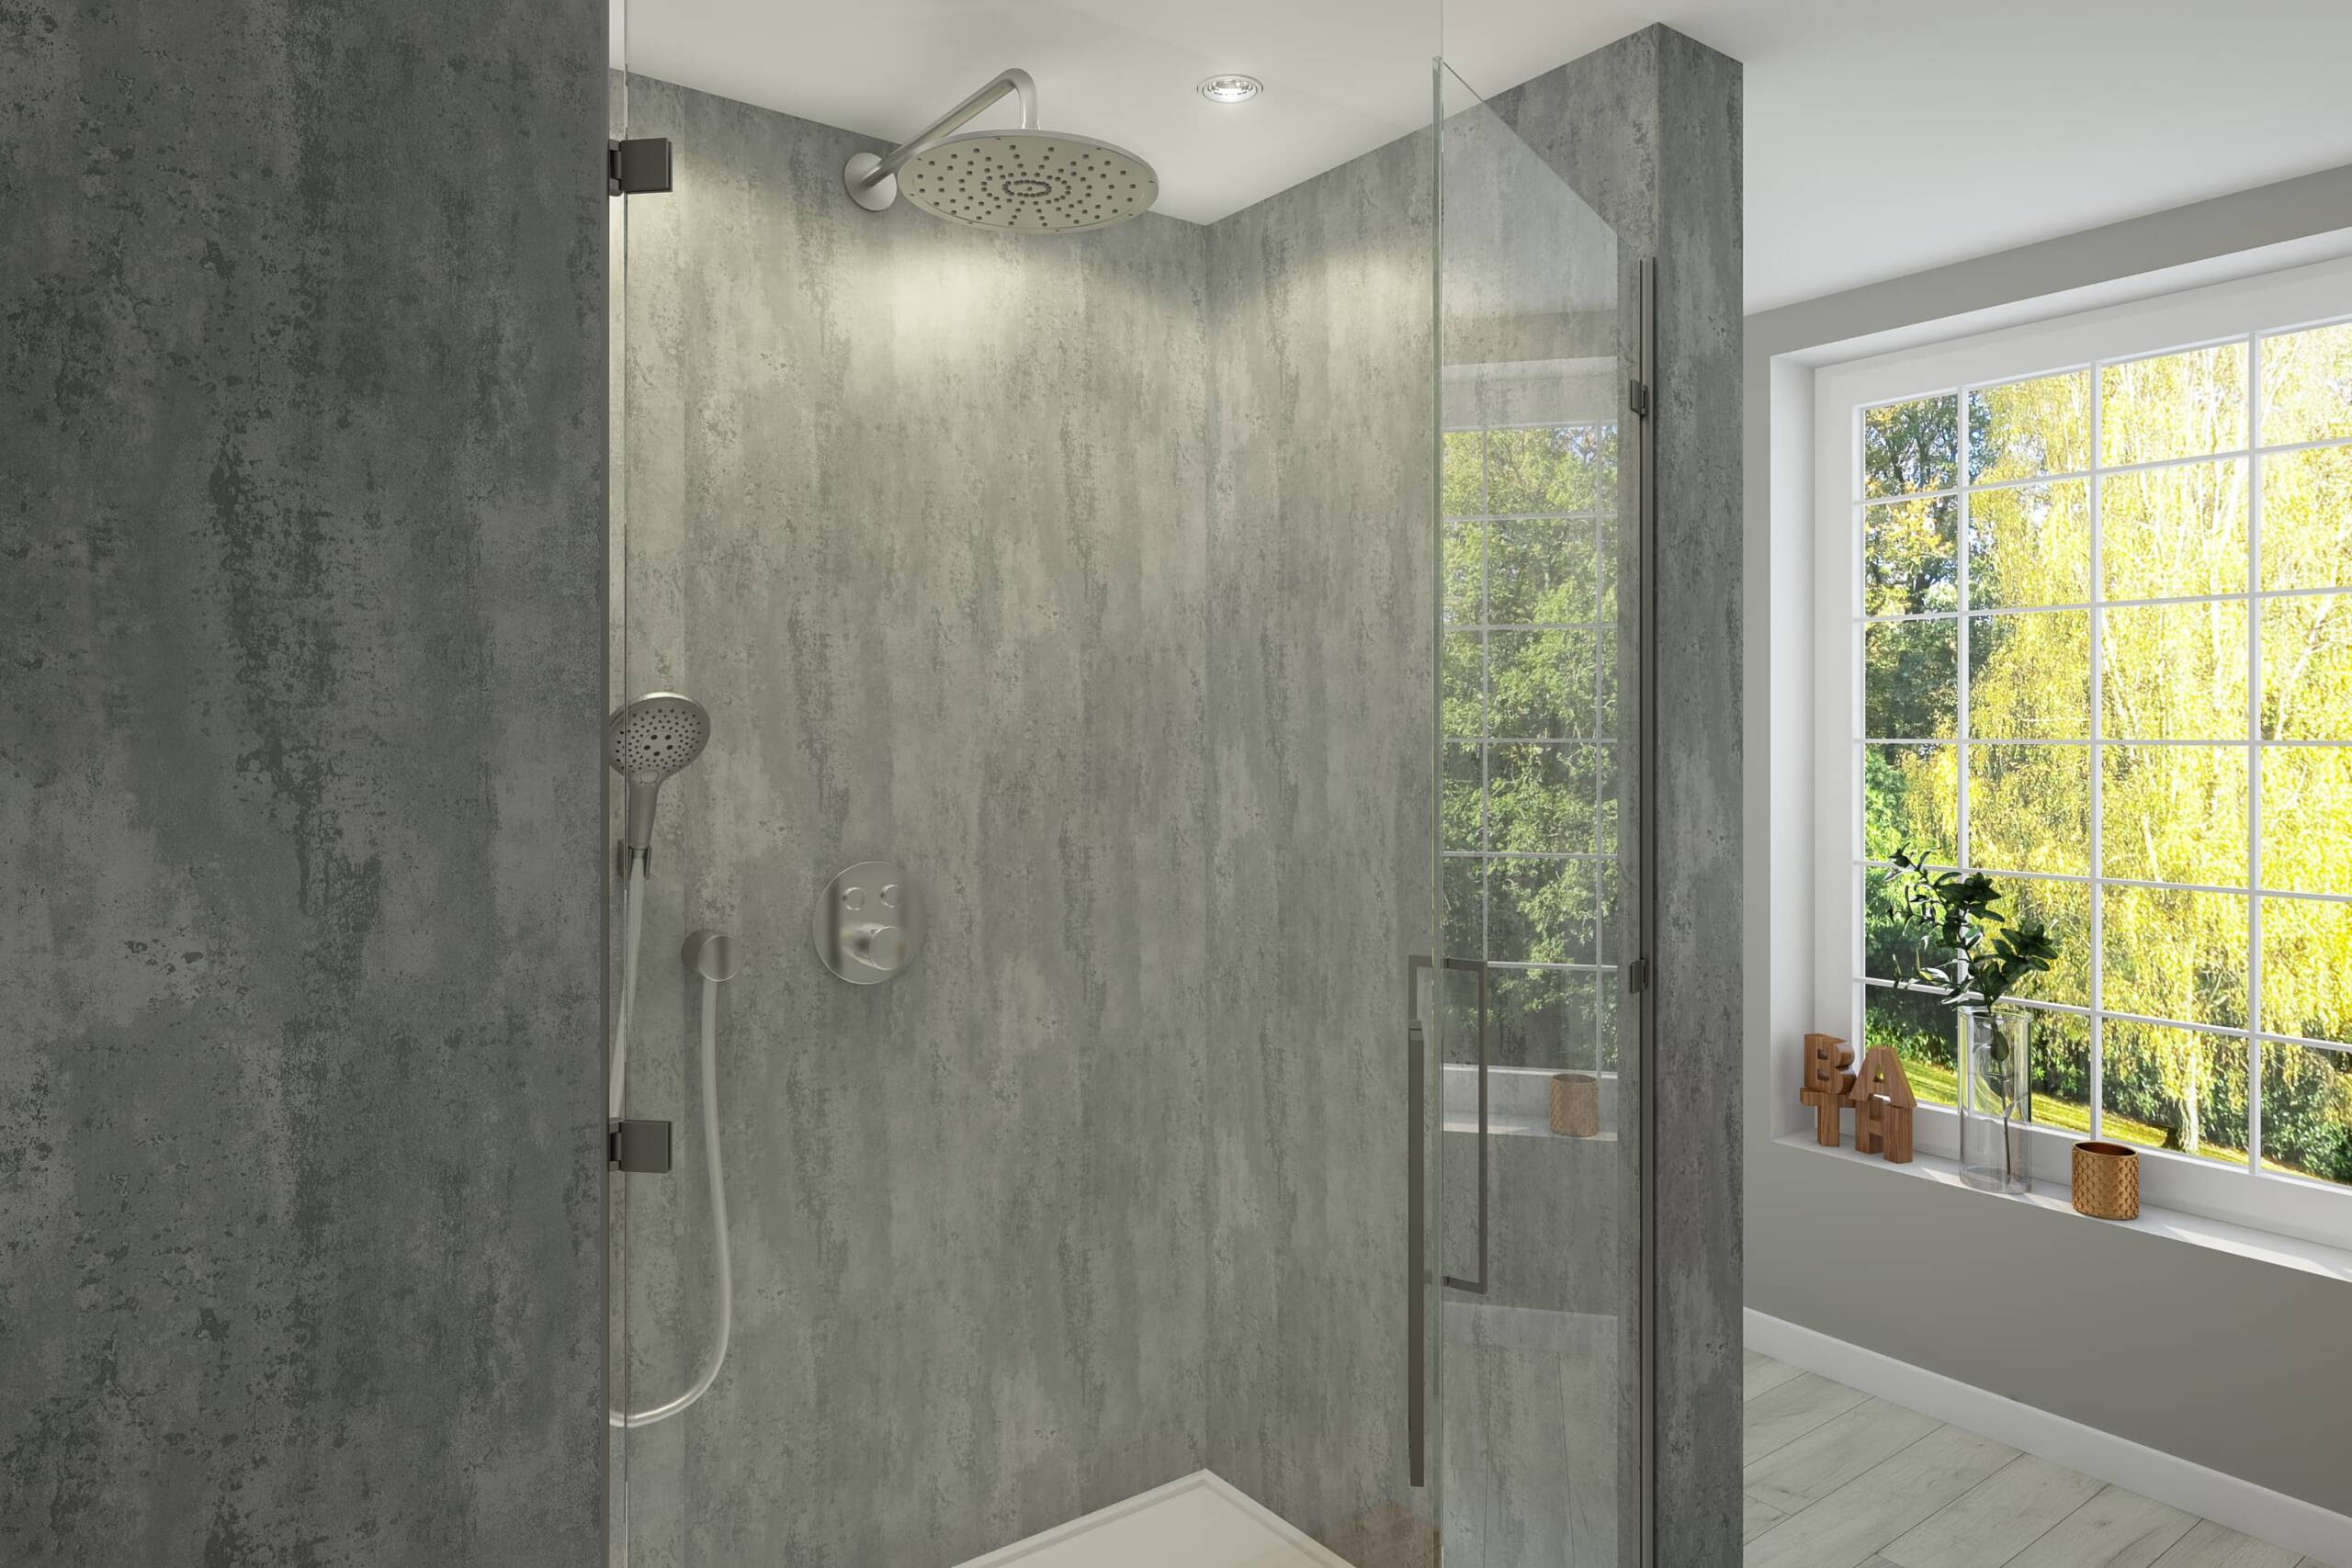
Our shower panels are made to be fitted without the complexity of tiling. Large panel sizes reduce joins, tongue and groove edges keep alignment straightforward, and installation works with standard tools rather than specialist equipment.
Shower panels are available in gloss, marble, stone, and sparkle finishes, with options suited to full bathroom refits or straightforward replacements. We also offer shower wall panel kits if you want panels, trims, and accessories supplied together, removing the guesswork before you start.
Free samples are available so you can check finishes and panel thickness before ordering, and all panels are backed by fast delivery and long-term warranties.
Recommended Guides: