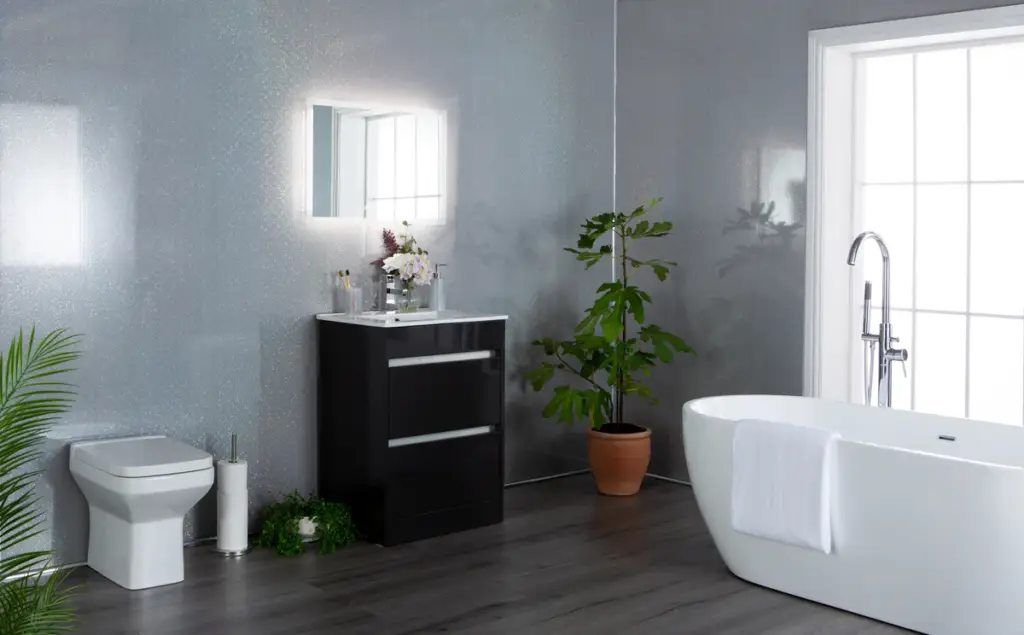
If you’ve just moved into a house and are undertaking renovations, or you simply want to freshen up the look of your bathroom, your options have traditionally fallen into two categories. A lick of waterproof paint, and/or ceramic tiles, are the standards in bathrooms up and down the country. However, tiling is far from a simple job, and most people will end up leaving it to a professional, which will rarely come cheap.
This is one major reason why bathroom wall panels are such a good option for people who want a professional-looking finish without the tiring, back-breaking and often expensive hassle of tiling. As they’re usually made from PVC or MDF, they’re a lot more affordable and easier to work with – and because they’re made from a single sheet, there’s a lot less cutting and measuring involved.
How to fit bathroom wall panels
You will need
Once you have selected and purchased your bathroom wall panels and trim, you’ll need the following tools and equipment to put them up on your walls:
Saw (fine-tooth, ideally electric)
Sharp blade
Sandpaper (medium grain)
Tape measure
Caulking gun
Safety goggles
Adhesive sealant
Carpenter’s pencil
Antibacterial spray
Step 1: Measurement
You’ll need measurements for each wall you are planning to cover. Note down both the height and width of each wall, allowing for any windows, doors and fittings that may need t be worked around.
Step 2: Treat the panels
Your panels will need to be treated with an antibacterial spray before you can use the bathroom with them in place. It will be easier, and save time, if you do this before you place them. Lay them flat and coat them with the spray.
Step 3: Mark and cut the panels
When you know the length you need each panel to be, mark them with a pencil. Then cut them to size using the saw – and wearing the safety goggles, as this process will create dust and debris.
Step 4: Sand and smooth
Using the sandpaper, sand down any cut edges to remove any rough edges and bits of debris. Also sand the back of the panel, as this will help it stick to the wall.
Step 5: Prepare the trim
Ahead of placing the panel on the wall, you should attach the trim into which it will rest. This should be done using adhesive sealant. In some cases, it will be advised to screw the trim into the wall, but ask about this when you are buying the panels and trim.
If you are panelling more than one wall and need to work around a corner, place the corner trim first and place a tile spacer at the end – when you come to place the companion piece, you can move the spacer and add sealant.
Step 6: Place the panels
Lay three thin strips of foam tape along the length (top to bottom) of the panel. Then, add the adhesive in three stages: first, one thin line down either side; then, in a zig-zag line at the top and one at the bottom. Finally, apply liberally on the rest of the panel in circles or figures-of-eight to ensure widespread coverage.
Lay a line of adhesive sealant inside the trim where the panel will sit, as well as to the edge of the panel (not so thickly that it will be visible when the panel is in place. After removing the backing of the foam tape, lift the panel into place holding it at an angle so that the foam tape doesn’t “grab” the wall and hold your panel before it’s been correctly placed.
If you’re placing in a corner, do that panel first – it will make everything much easier!
Step 7: Repeat
As you may expect, you just repeat the process until all panels are placed. Each panel should have a tongue-and-groove join, which you use to lock them together.
Step 8: Finish
When all panels are in place, add some sealant along the bottom of the assembly. Dependent on the kit you have bought, there may be a locking cap that clicks into each corner. If so, click that into place.


