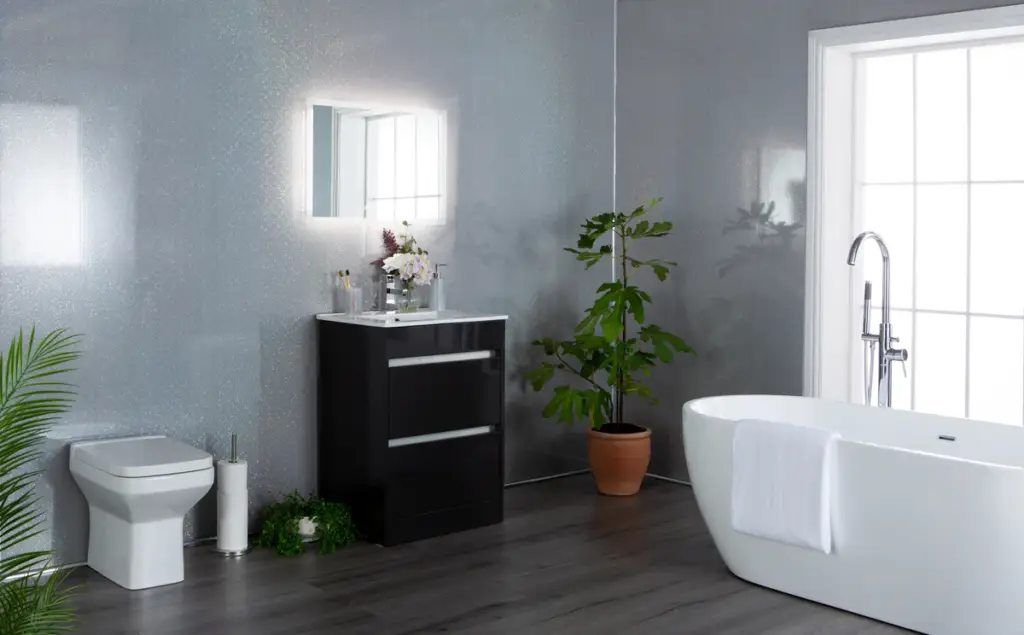
If you’re looking for a new ceiling solution in your home, regardless of whether it’s the kitchen, bathroom, or any other room in your house, PVC Ceiling Panels should at least be considered. And the great thing about them is that there’s no reason why you can’t take the DIY approach when it comes to installing them.
We’re going to provide more details about that whole process, the steps involved, and why you should consider using PVC ceiling panels in your home. So if you’re considering this option and want to find out more before reaching a decision, you’re in the right place.
All About PVC Ceiling Panels
PVC ceiling panels are appealing for a number of reasons. They’re easy to work with and they can create a simple and aesthetically pleasing surface once installed correctly. They fit with most styles and can look quite minimalist, meaning they won’t be likely to clash with any other design elements in the room. PVC is a lightweight plastic material with a light and shiny surface. As a result, it can also help to make a space feel lighter when installed on the ceiling.
The Benefits of Doing it Yourself with PVC Ceiling Panels
So what are the benefits of doing it yourself and choosing PVC ceiling panels instead of the other options out there? We’re going to take a look now at the three most obvious benefits that come with this solution and why so many people choose to install their own PVC ceiling panels.
Quick and Easy Ceiling Panels Installation
No one wants their DIY projects to drag on and on; you want to start and finish as quickly as possible. That way, you can get back to using the home as normal. When you choose PVC ceiling panels, you’ll find the whole process is quick and easy. It doesn’t take a long time and it doesn’t cause much disruption in the home either.
An Affordable Ceiling Decor Solution
Buying PVC panels is not difficult and it won’t cost you a small fortune. Unlike some other DIY projects that might involve using expensive tools and materials. PVC panels are very affordable and can be found at an affordable price in pretty much any location where you might be based.
Professional Finish
When you’re carrying out a DIY project in your home, it’s only natural to want the finish to look professional and polished, even though it wasn’t carried out by a professional. That’s something that’s pretty easy to achieve when installing PVC ceiling panels, as long as you’re following the right steps. And you can find out more about those steps below.
The Tools You’ll Need
First of all, you’ll need to make sure that you have the right tools at your disposal. Obviously, you’ll need the PVC panels, but aside from those, there are a few key tools and items that’ll make the whole process a lot easier for you from a DIY point of view. You’ll need to measure the panels so a tape measure will be necessary, as well as something to cut the panels with. A table saw or a fine-toothed hand saw will do the job for you. Some screws, a table to work at and a silicone gun will also be needed.
Measure the Ceiling and Calculate the Number of Panels You’ll Need
Next, you’ll need to take the time to measure the ceiling so you can know for sure how big the panels will need to be and how many of them you’ll need in total. By measuring the ceiling, you can make sure that everything is accurate and that you don’t end up with problems later on in the process. It’s a good idea to measure and measure again so you can be sure that you’re cutting the panels down to the right size.
Cut the Panels Down to the Right Size and Holes for Light Fixtures
Now that you know the measurements that you’re working with, you can look at the length of your PVC panels and work out how many of them you’ll need. And you can cut them down to the width that they need to be. Using a fine-toothed hand saw or a good table saw will yield the best results and make for the best finish. You’ll also need to cut out holes for any light fixtures in the space.
Secure in Place with Adhesive and Screws
Securing your PVC panels in place will be the next task. A safe ladder will obviously be necessary, so make sure you have one. You can secure them in the way that works for you, but because PVC panels are so lightweight, it doesn’t take too much to secure and keep them in place. A silicone adhesive, secured with a silicone gun, is the best solution. And you can also add some extra screws for a little added security.
Install the Finish Trim
After you’ve secured the panels in place, you can add the finish trim around the edge of the ceiling. This is a pretty simple process and you can choose the trim that works for you and for the aesthetics of the space. It’ll help to complete the process and make the ceiling look properly finished and professional. That won’t be the case if you simply stop after securing the PVC panels in place.
Paint if You Wish
People often wonder if it’s possible to paint PVC panels, and the answer is yes it certainly is. You’ll probably need a couple of coats of paint, and make sure you brush in the same direction to keep things consistent. The easiest way to paint the ceiling panels is with a roller brush with a long handle to help you reach up there.
Installing your own PVC ceiling panels doesn’t have to be a particularly difficult process. If you want to create a professional-looking finish, without any of the hard work that might come with other ceiling options, the process described above might be just what you’ve been looking for.


